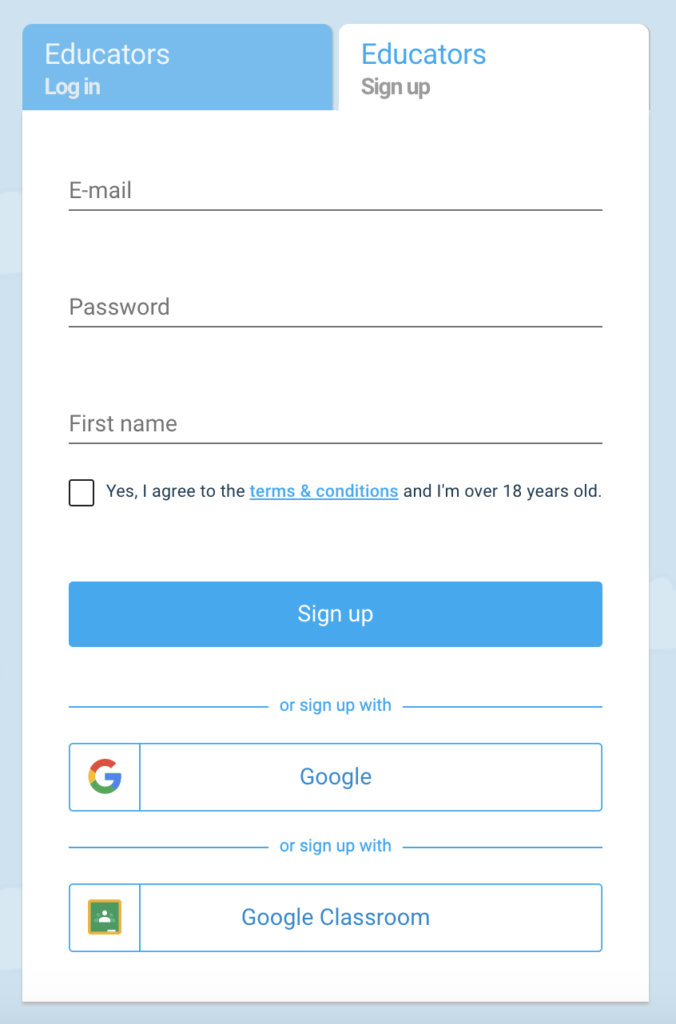
You can sign up using Google sign in or email. You will automatically be logged in and your first class will be created.
NOTE: To import class rosters from Google Classroom, choose Google Classroom login. Learn more about this method here.
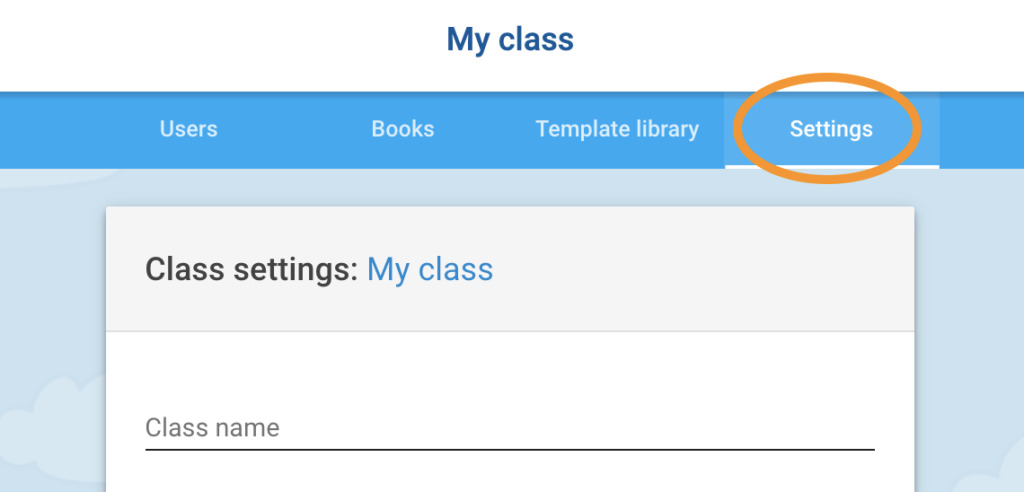
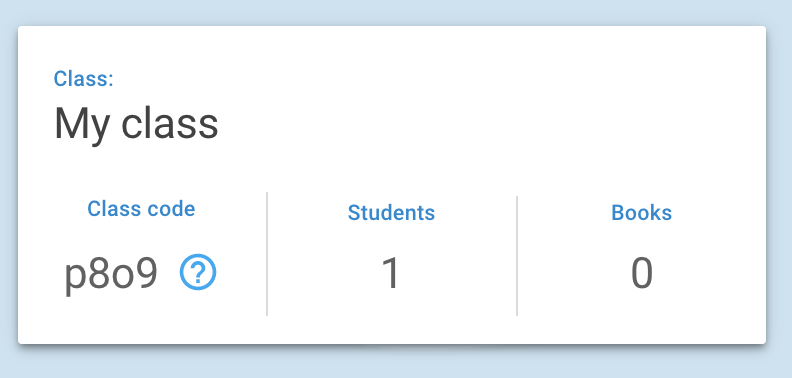
Your first class will be called “My Class”. You can change the name of your class by clicking on the Settings tab.
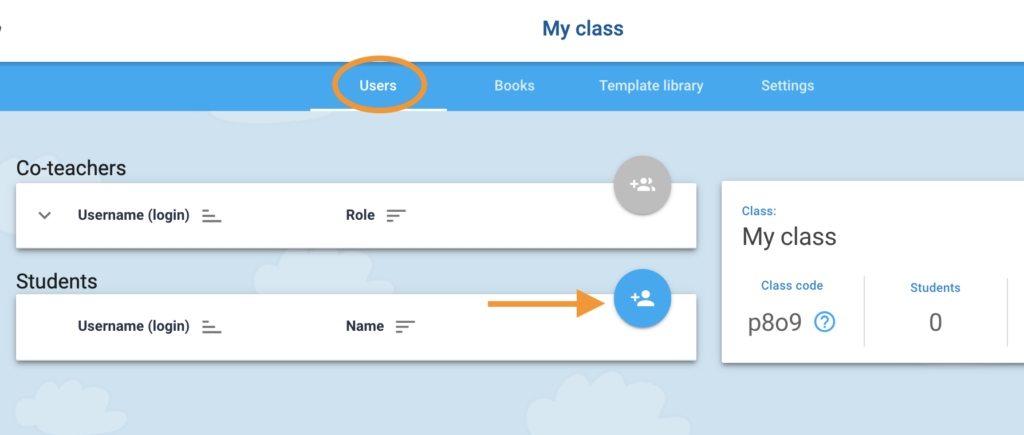
Step 2: Add Students to Your Class
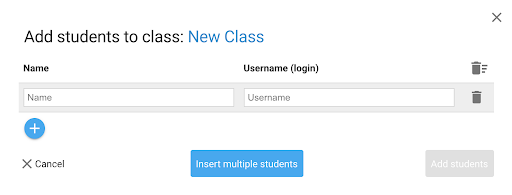
To add students, navigate to the Users tab.
You can add students one at a time, or choose “Insert Multiple Students” to add more than one student at once.
When you insert multiple students by name, a unique username will be automatically generated for each student. If you prefer to create your own usernames, you can choose “Username” from the dropdown menu and insert your preferred username for each student.
Step 3: Login
Students will login at app.writereader.com with their Username and Class Code.
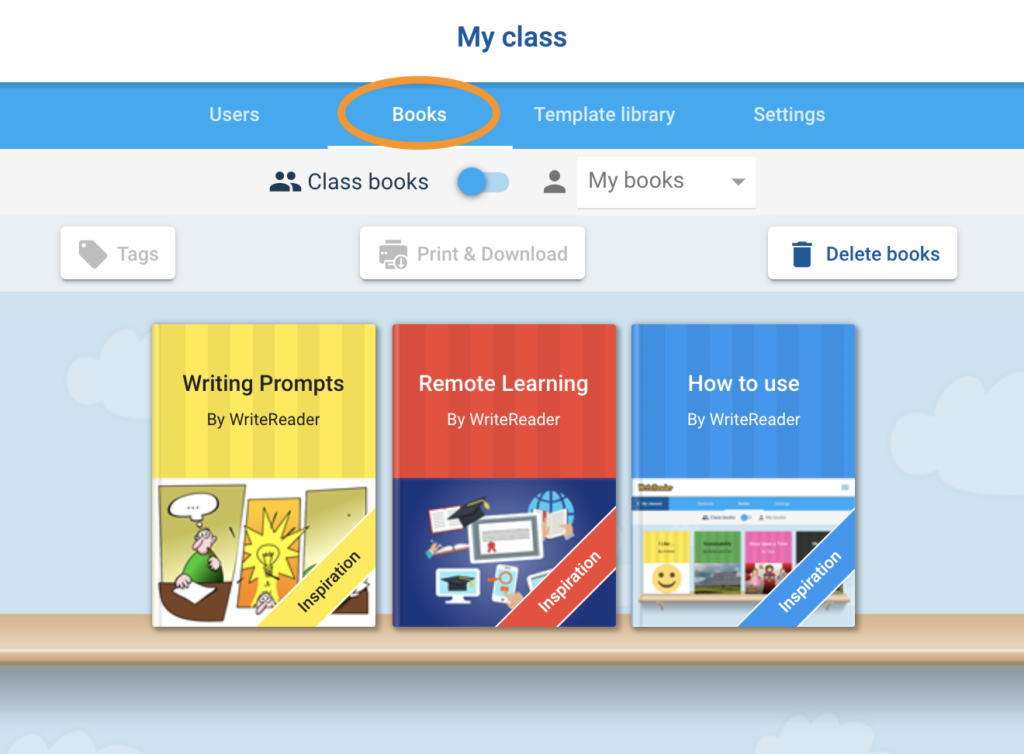
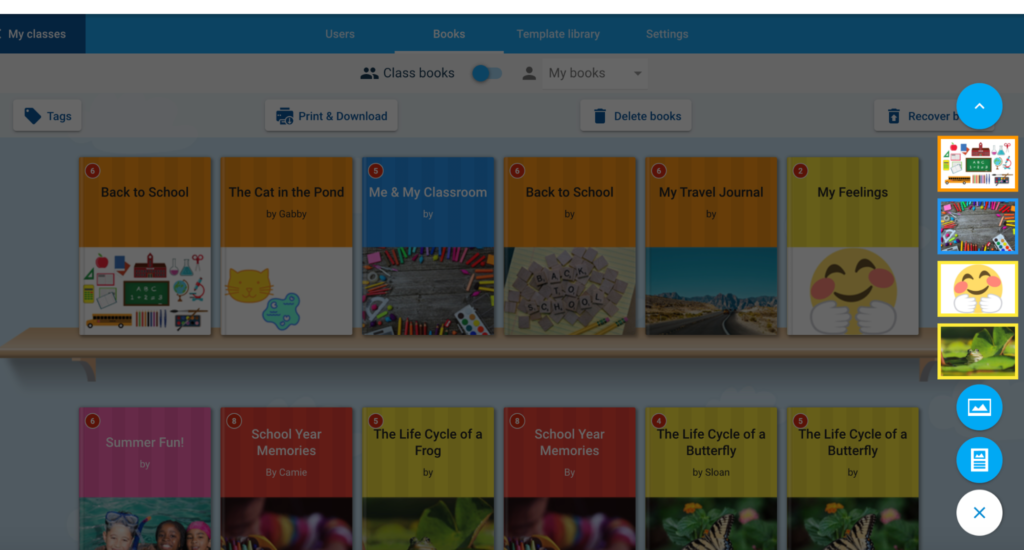
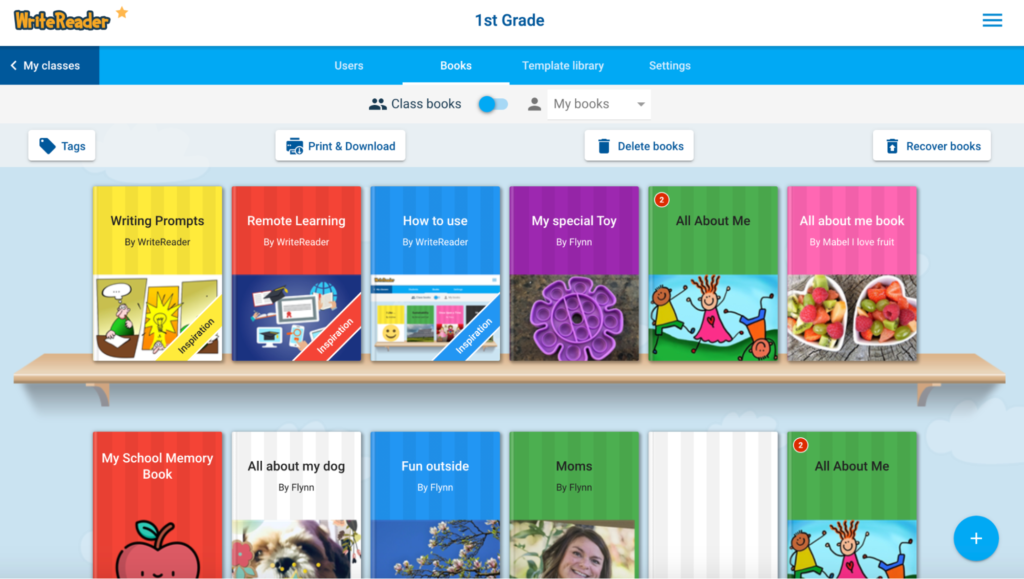
By default, students can see one another’s books in the Class Bookshelf.
Students toggle to “Class books” to see their classmates’ books. Teachers can turn this ability on or off in the “Settings” tab.
Note: Students cannot edit their classmates’ books, only view them.
Option 2: Link Sharing
Link sharing allows completed books to be easily shared with family and friends.
Step 1: Open the book you’d like to share.
Step 2: Click the “Link sharing” button and toggle link sharing ON.
Step 3: Click on “Copy link”.
Step 4: The link can now be sent to family and friends via email, Seesaw or other method.
Note: Use Link settings to allow recipients to print & download, view comments, and/or add the book to their own bookshelves to reuse with their students.
Option 4: Print & Download
Premium WriteReader users have the option to print and download completed books.
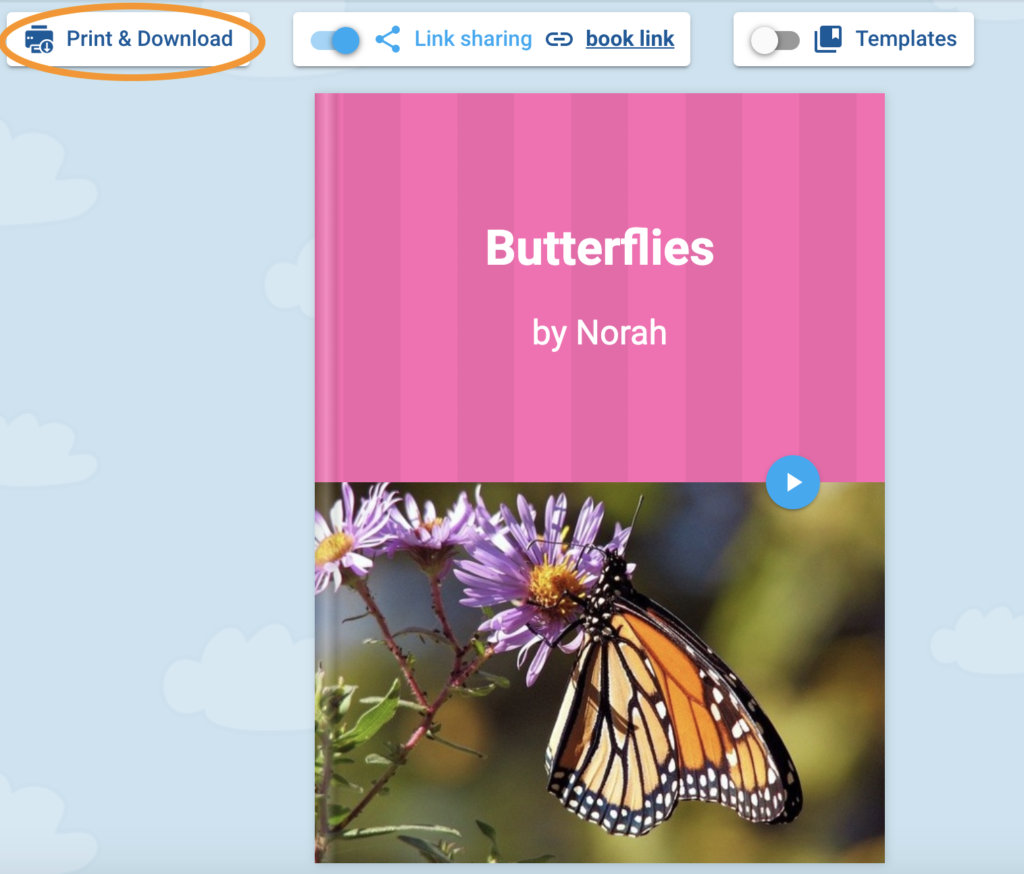
Step 1: Open the book you’d like to share.
Step 2: Click the “Print & Download” button.
Step 3: Make selections regarding size and format, then download as a PDF or print.
Option 5: Reading Rooms
Share a collection of books by creating a Reading Room. Reading Rooms allow access to a selection of books without having to login to a WriteReader account.
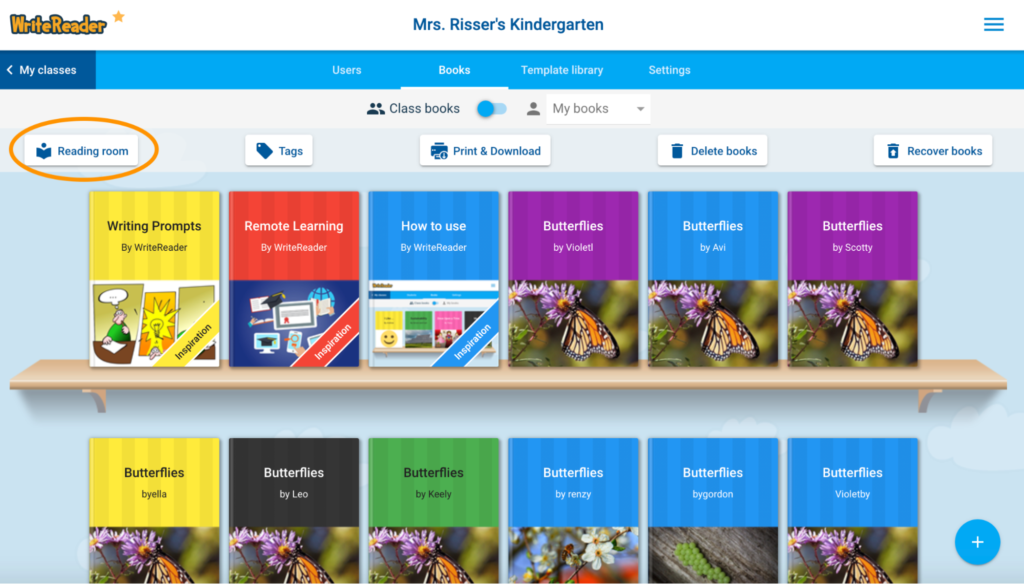
Step 1: Tap the “Reading Room” button from your class dashboard.
Step 2: Name your Reading Room
Step 3: Select the books you’d like to add to your Reading Room
Step 4: Copy the URL for your Reading Room to share with others.