Hard to find a certain book or group of books among all your students wonderful books on your bookshelf? Here is a solution!
By using this premium tag feature, you get the ability to assign tags to sort and find books and templates quickly. It also gives you a clear overview of which books have been created. We’re all about making your job easier!
How to tag
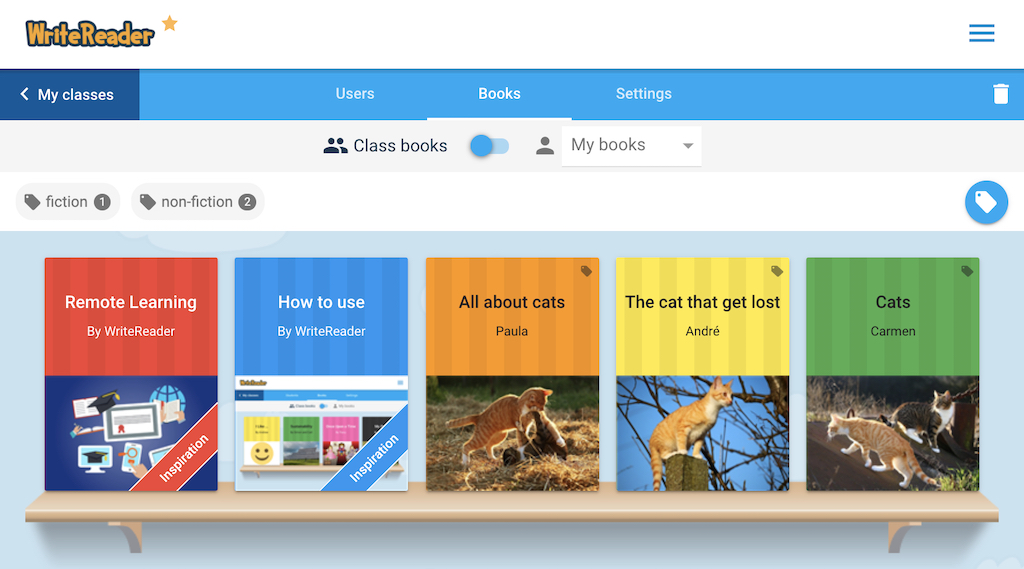
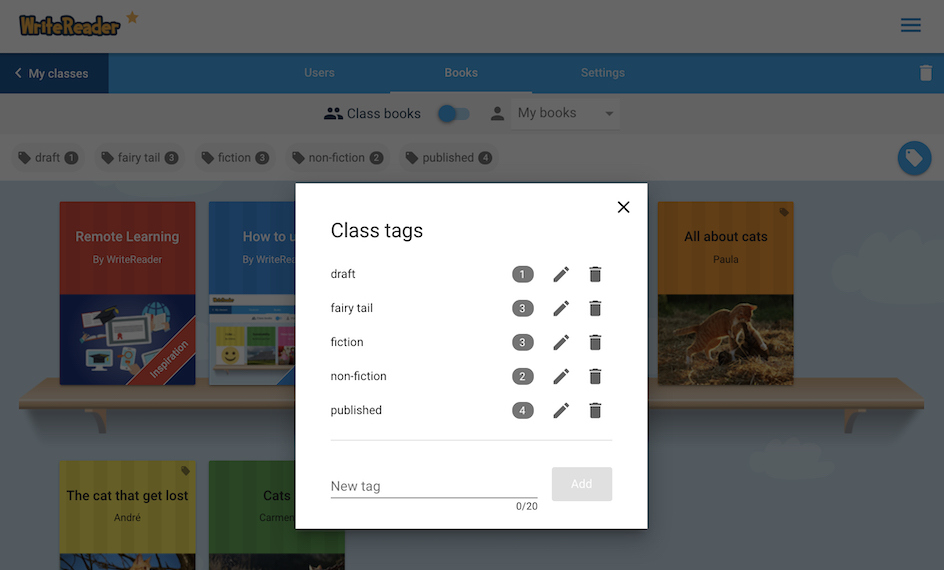
When editing a book, teachers can click on the tag icon and assign a tag to the book(s). Once you have created a tag, your students can assign the tag to their books. When you are on the bookshelf view, you can sort the books by clicking one or multiple tags.
Take a look at this 2-min video where we explain how to apply tags to your books.
Text types and genre
To support students’ learning about different types of text and genres, we recommend creating relevant tags and asking students to tag their books into the correct category as part of the learning process.
For young learners, start by adding one tag for “fiction” and one “non-fiction” and tell them that stories and books can be divided into these two main groups–one group of books created from the imagination and one group based on facts.
As a good writing task to illustrate the differences, each student can write two books about cats (maybe use the cat image bank category):
- one book about a fictional cat who may be able to speak and have other human characteristics
- one book with facts about cats like appearance, size, food, care, and babies
For older and more skilled writers the following text types (genres) can be introduced and added as tags:
- personal (expressive) texts
- imaginative (narratives) texts
- informative (expository) texts
Use tags as draft and publishing indicators
Writing a book is a process that consists of several different phases from the idea to text production to publication.
Both as an author and a reader, it can be beneficial to know when a book is “in process” and when it is finished. A helpful tip is to create a tag for “draft” and one for “published” work. Teach students to add the “draft” tag when starting a book and change the tag to “published” when the book is done and approved by the teacher. This makes it easy for the students to filter the books by clicking the “published” tag when they want to read their classmates’ finished masterpieces.
Reading room for remote learning
To create excitement around publishing student books, an online reading event can be arranged. A reading room can be created using the tag feature and the following steps:
- Turn off the “Children can see each other’s books” function (select “Settings” from the bookshelf) during the period when students are drafting and editing their books.
- Create a tag for the event – possibly named after the topic students are writing about (e.g. “fairy tales”) and ask students (with help of their parents) to add this tag to their books.
- Set and announce a time for the book launch.
- At the time of book launch, turn on the “Children can see each other’s books” function again and ask students to select “Class books” from the bookshelf. Show students how to filter the books by the selected tag (e.g. “fairy tales”).
- Students can enjoy reading each other’s books.
Take a look at 5 other premium features highlighted in the post Premium Features in WriteReader.